Step 5 of Union Collection production: assembling the watches
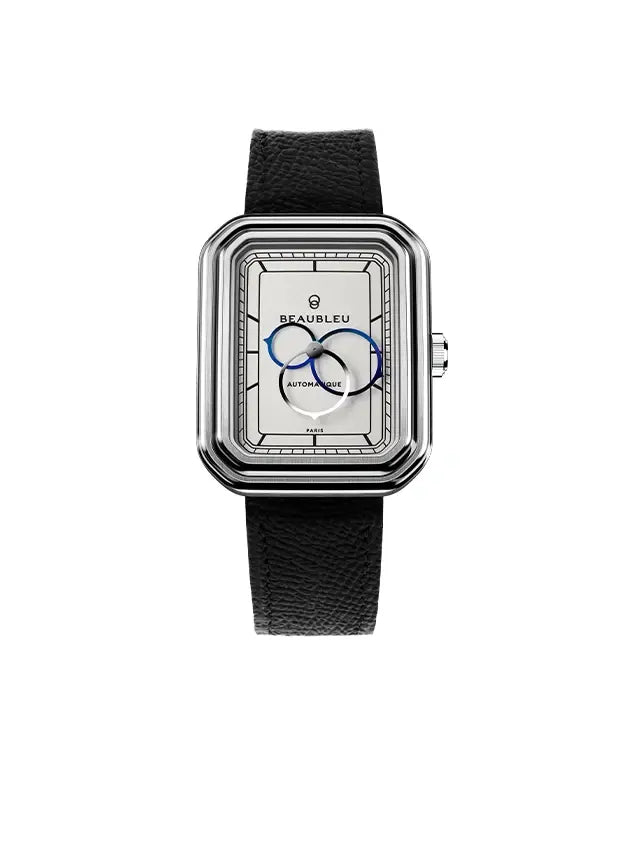
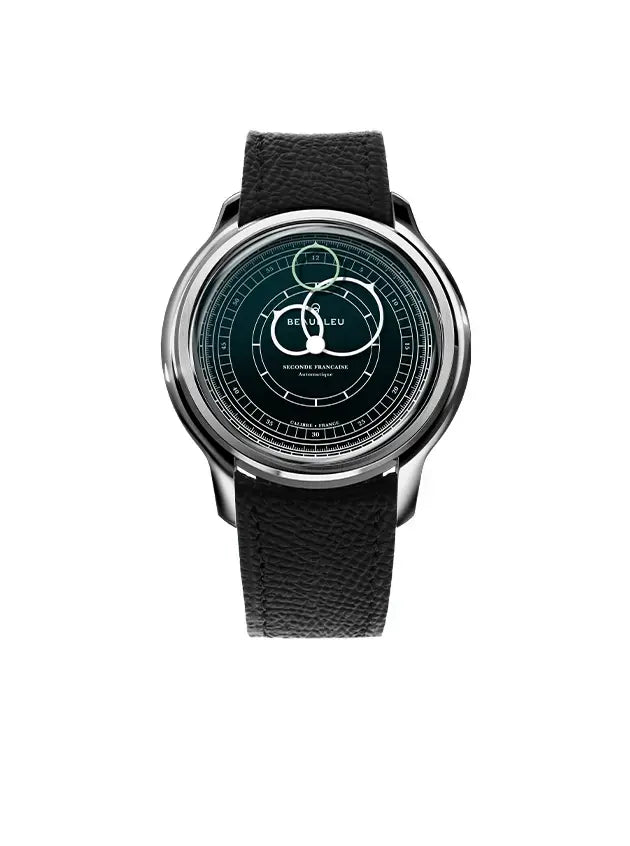
In a few days, we will finish assembling the first watches from the Union Collection. Unfortunately we had to announce a slight delay, but we have worked hard to shorten the delivery times for your watches as much as possible, in particular thanks to the express service. So before this last delicate straight line, a little flashback when our watchmakers collected all the separate parts: dials, cases, hands, without forgetting the movements in order to assemble them and make your watches. Today we're assuming you've followed every step of making your watch, so now how about finding out how we put them together?
Let's start at the beginning, in front of us we have the different parts necessary for this final step.
Phase 1: Assembly and movement adjustments
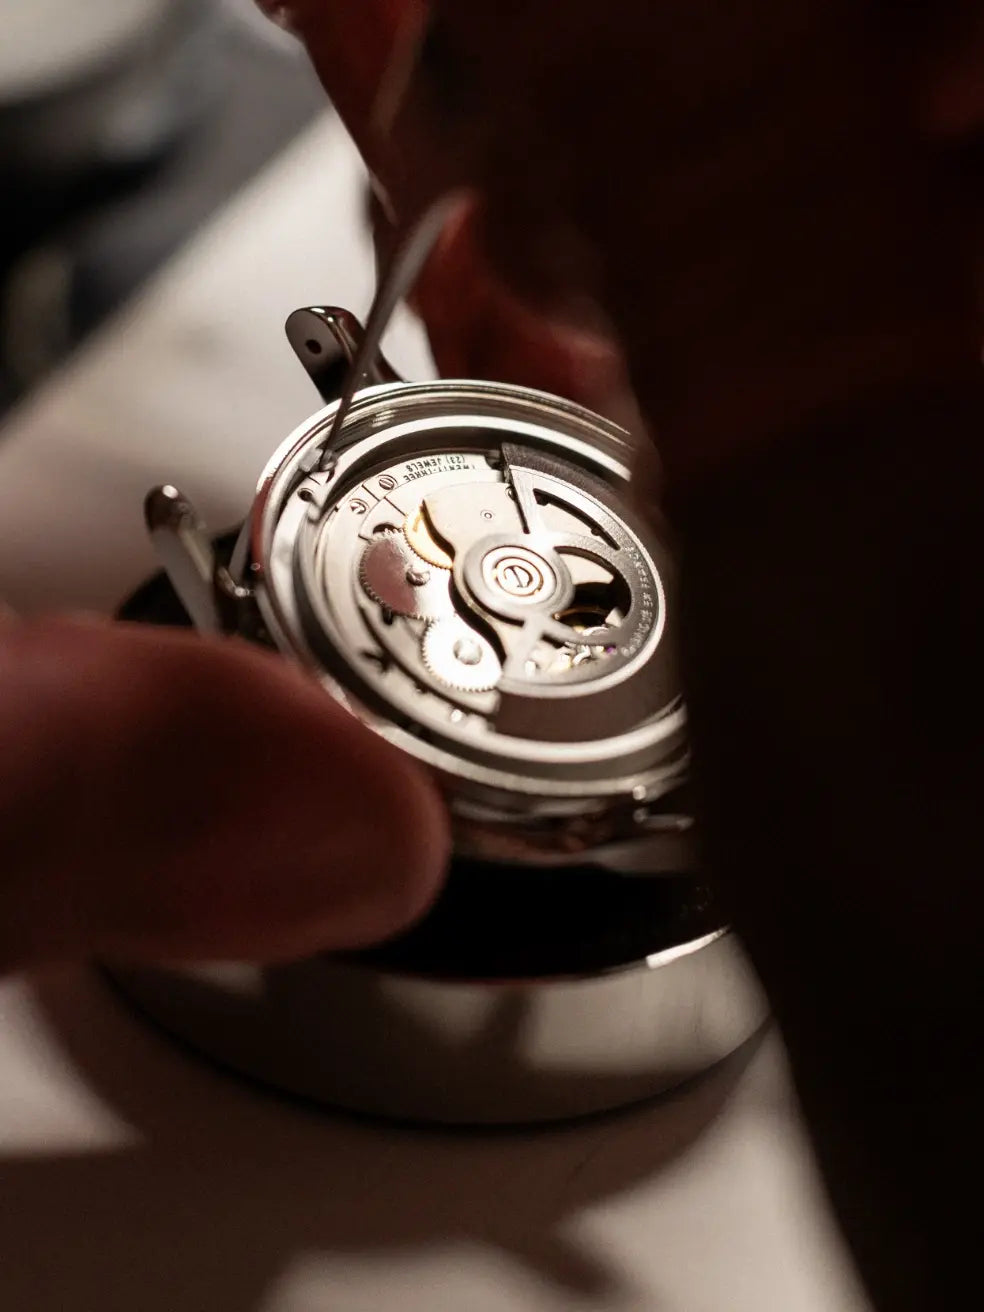
The centerpiece of the watch, the movement is made up of around a hundred parts which, once assembled, must respect a well-defined precision. Each movement must be engraved with the logo and name of the House (on the balance wheel), checked, then adjusted using an adjustment racket. Once this operation is completed, we can move on to installing the dial.
Phase 2: install the dial on the plate
The first step in assembling Union Collection watches is adding the hands to the dial. To do this, we place the two feet on the back of the dial in the plate (here, it is not a question of the material but of the base plate which supports all the components of the automatic movement). We then place the winding stem at 3 o'clock. Next, screw the screws into the side of the plate, in the corresponding holes. During this phase, you must be very careful with the feet of the dial which are fragile, you must not force it.
Phase 3: placing the round hands on the dial
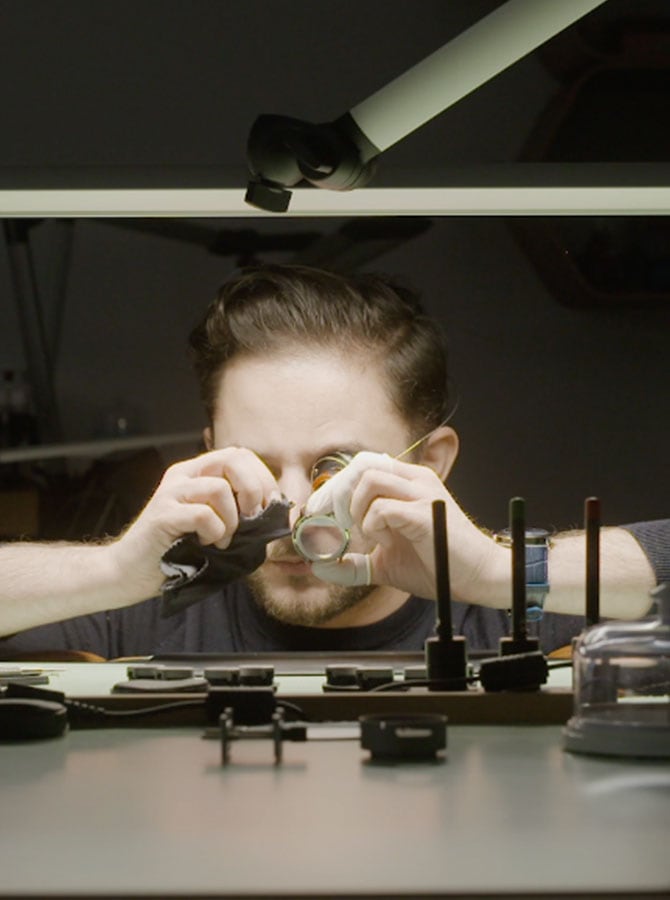
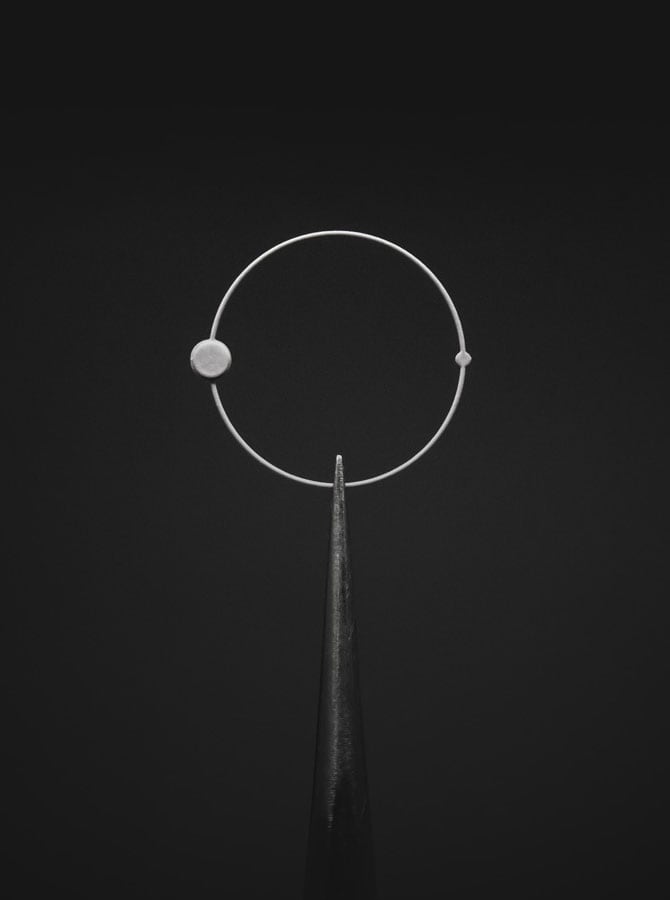
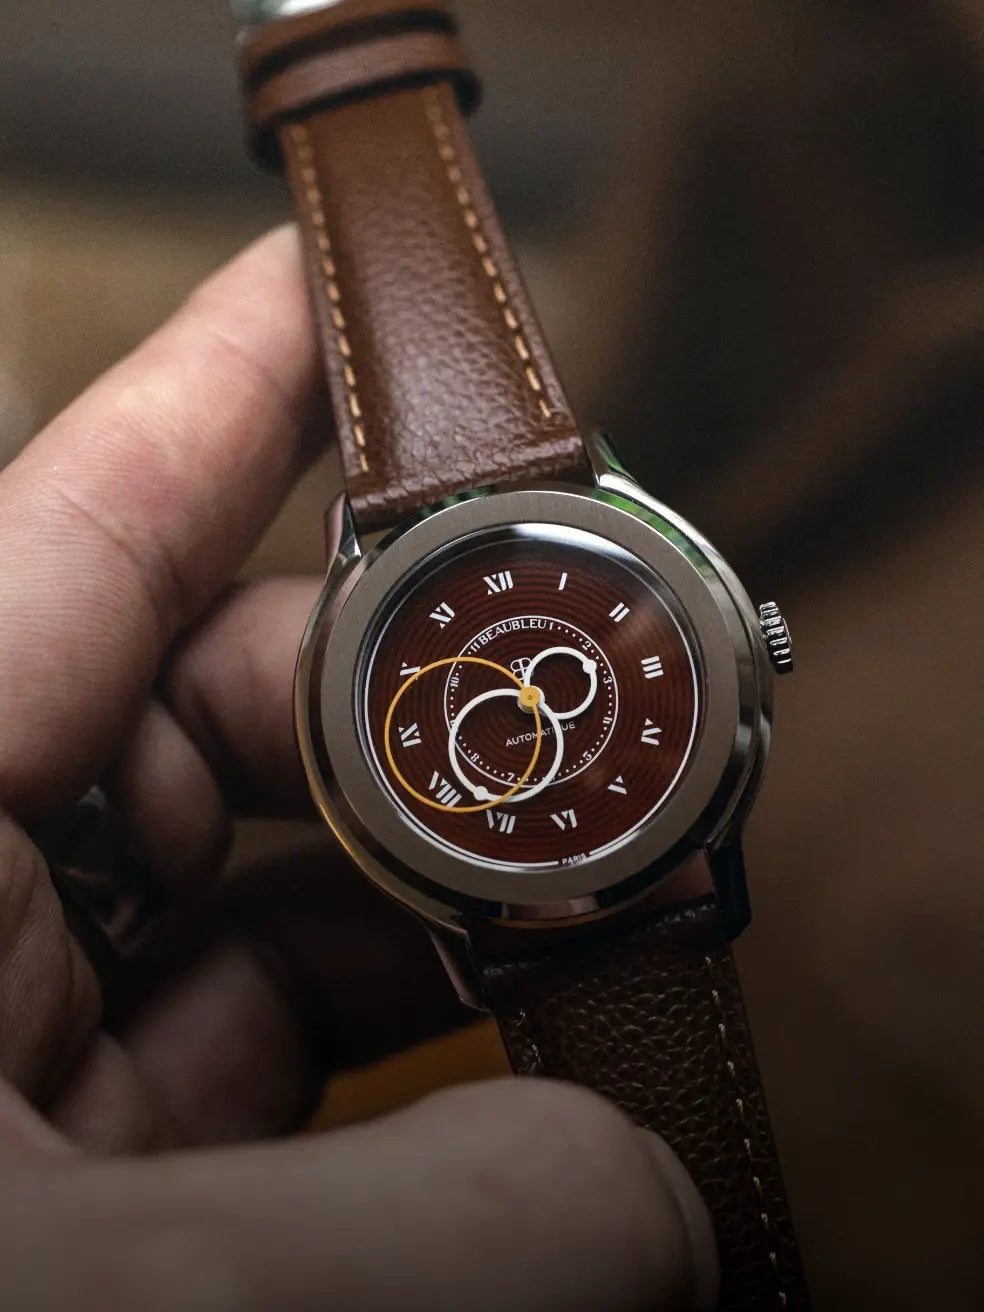
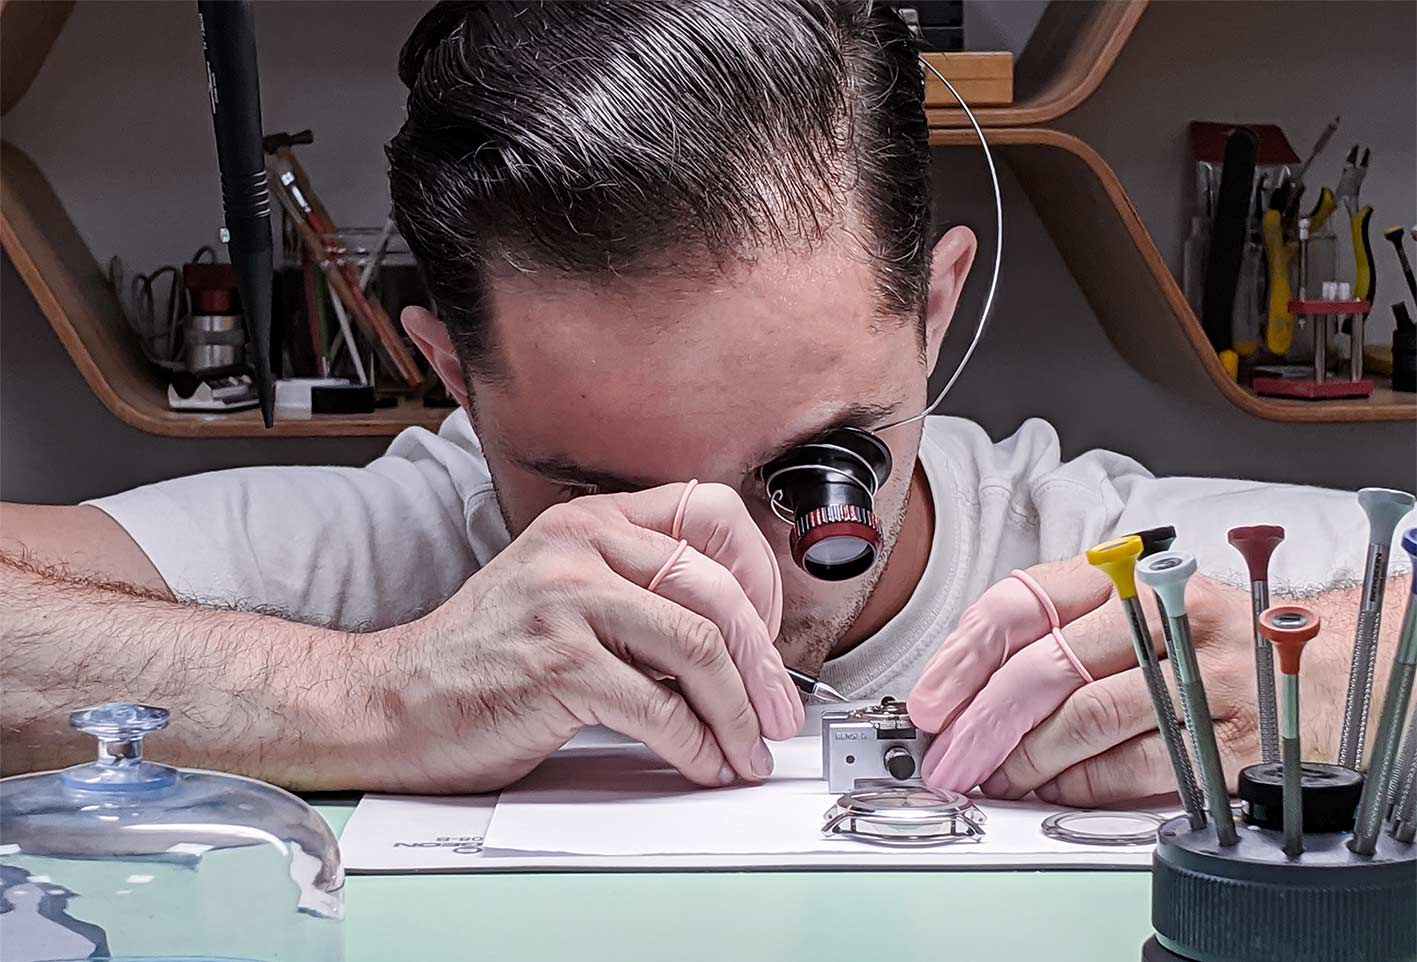
For this second phase of assembling the Union Collection, a delicate process, our watchmakers arm themselves with all their patience, and with a needle punch. The first step is to align the hour hand well in front of the 12. Here, the difficulty is to place the hand close to the dial, without it touching the indexes. Then, our watchmaker makes several revolutions to check that nothing is stopping it from turning.
For the minute hand we repeat the same operation. It should be almost stuck to the hour hand (0.2 mm), without touching it. The difficulty with our round needles lies in positioning them facing the 12 and without bending them. Then we perform the verification rounds like the previous step.
To check the placement of the hands, the watchmaker places them at 6 p.m. If the 2 hands are perfectly aligned, the installation of the hands has been correctly carried out, and we can move on to the installation of the seconds hand. On the other hand, if it is not carried out correctly, the two needles must be removed using a dial cover and a needle punch, essential to avoid scratches.
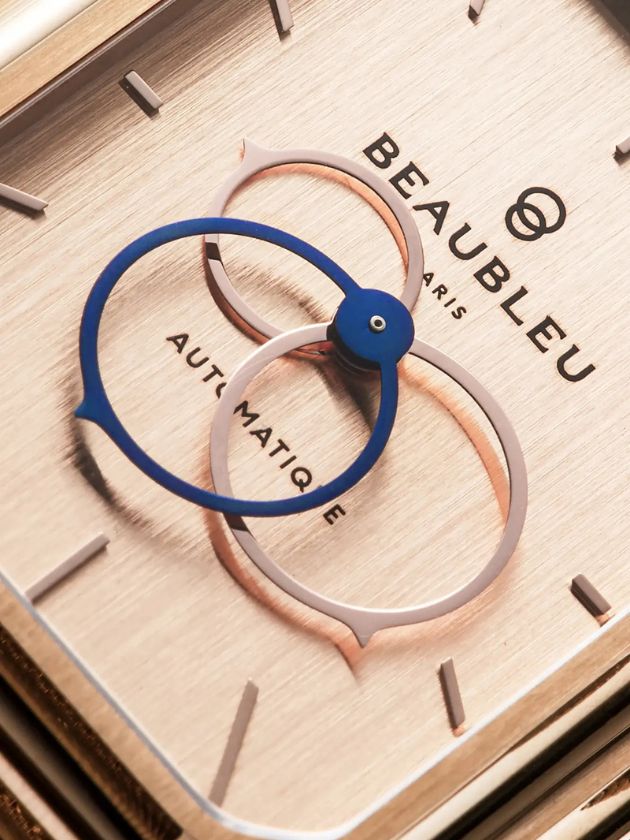
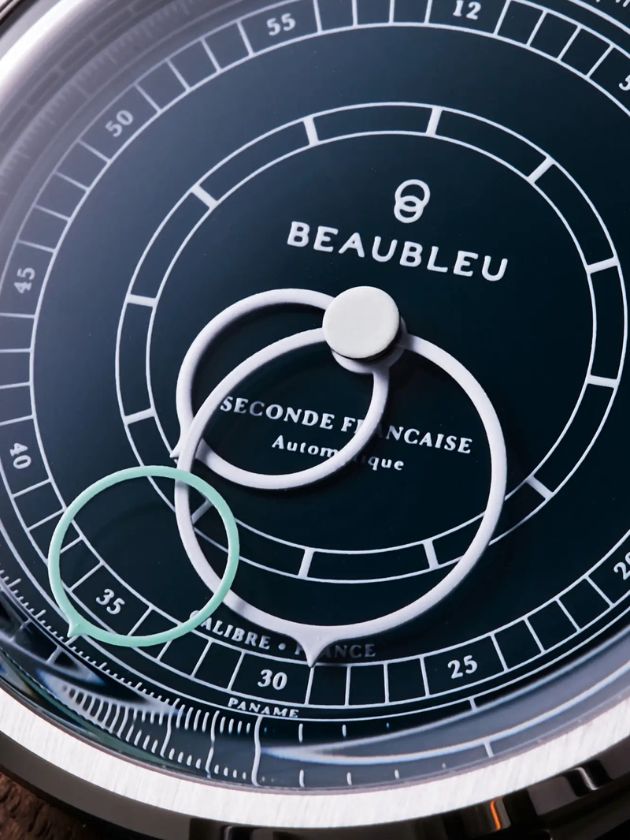
Once the checks are done, it's time to move on to the second hands, the largest of the circular hands. This one does not have a lozenge at its end unlike the other two hands, and it is at this moment that we really feel the concentration of our watchmakers. You must handle it gently so as not to risk bending it, and you must position it in its correct place. It is a meticulous process because the watchmakers must be delicate so as not to damage the whole thing.
When the three circular hands are impeccably placed, we check the cleanliness of the dial, the case and the glass. Fingerprints and last bits of dust are removed using a Rodico and a microfiber cloth.
Phase 4: assembly
As you will have understood, before and after each manipulation, the part must be cleaned because if dust is stuck in one of the elements, the watch would have to be completely dismantled.
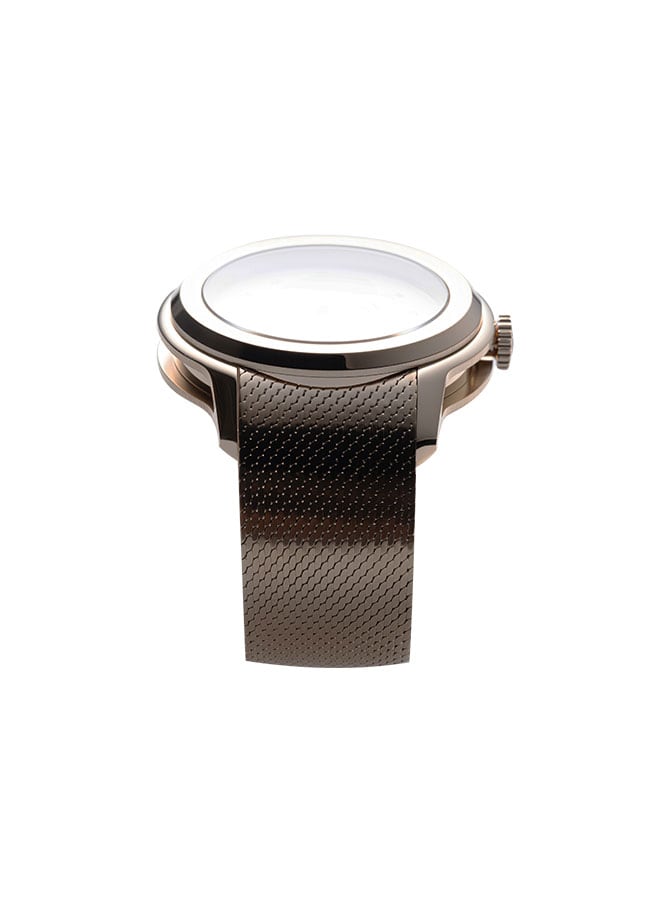
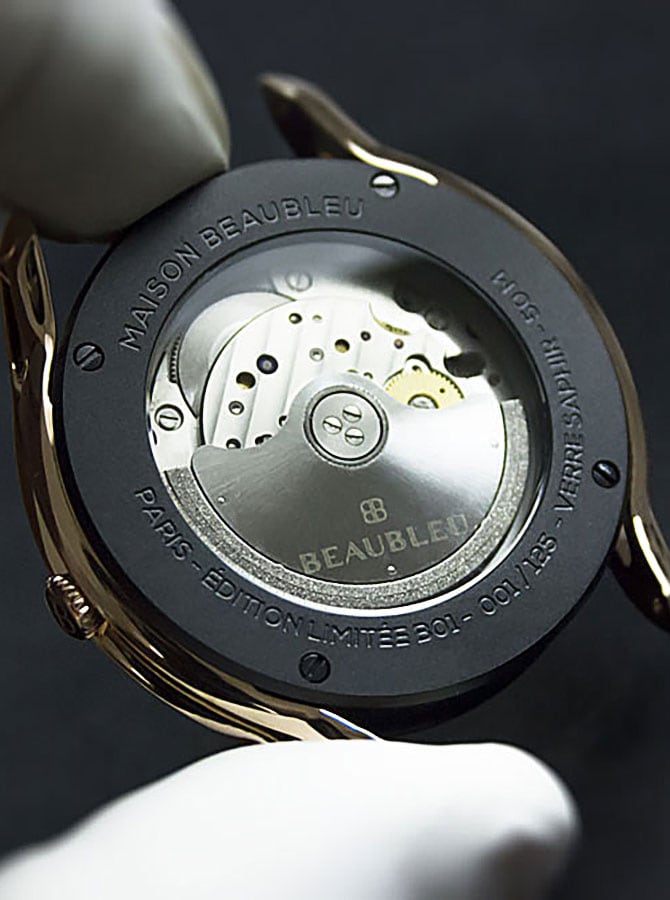
Next, we remove the winding stem and place the automatic movement in the case. During this step, you must pay attention to the direction in which the movement is positioned. In fact, the space which accommodates the winding stem must be opposite the 3 o'clock position. In order to maintain the movement to continue the assembly, we replace the winding stem, just after checking cleanliness (again, and yes you have to take all these precautions to avoid small problems later). The automatic movement is very clean and it is time to install it in the case without forgetting the casing circle which keeps the movement in its correct place. We can therefore close the box with 4 screws in the bottom of the box.
Now, you will have to cut the winding stem to the right length, then file and screw the crown into it, without forcing, it's all a question of delicacy and gentleness in watchmaking.
Come on, one more last check for dust and fingerprints. And the assembly will finally be finished, all that remains is to add your bracelet.
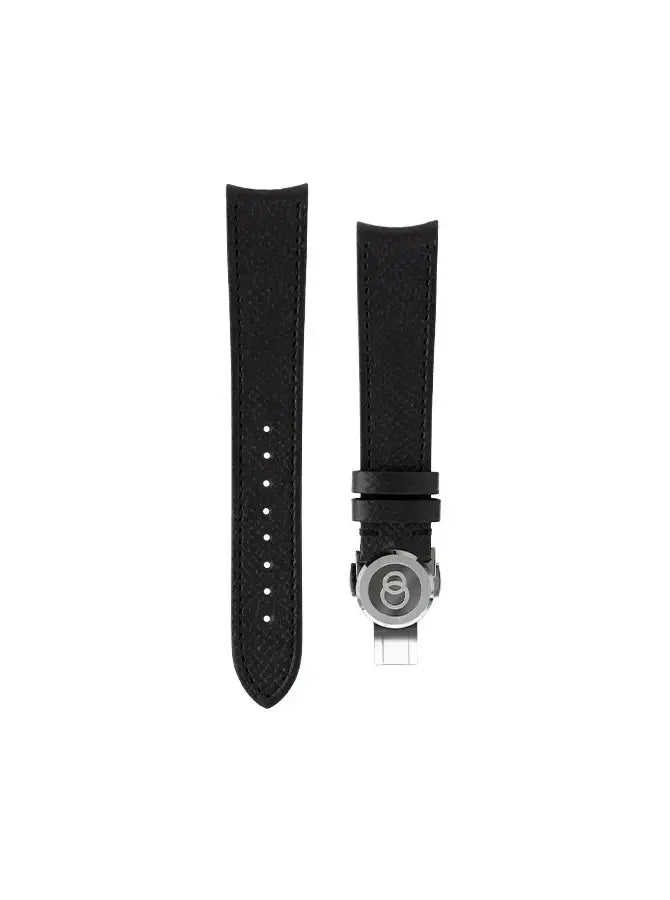
An interchangeable bracelet with folding clasp for the Union Collection
Speaking of bracelets, let's take a quick digression before concluding. Being equipped with a flash pump, it is easily interchangeable at home and without tools. In addition, for the first time, we are offering bracelets with a folding clasp. What does it change ? Quite a few things, but above all this type of buckle makes the bracelet more durable by damaging it less since once adjusted, you no longer need to touch it. The folding clasps match the case, Rose Gold for the Audace and Olympe and Steel for the other models.
It is therefore on this note that our production diary ends. You are now ready to play your role as ambassador and watch connoisseur. We will continue to share with you all the stages of our great adventure and of course if you have any questions or would like clarification on certain points, we will be happy to answer them.
Now, it is time for us to ensure the end of the assembly and finish the checks before sending it to our dear Ambassadors (reception before September).
Wishing you wonderful hours
The Beaubleu team
